Introduction and installation
Here you will install everything you need to start using the YOLO-Behaviour framework. It is mostly quite straightforward, but there are still a few things you will need to install.
Before starting, there are 3 main steps to follow:
Make sure you have cloned the YOLO_Behaviour_Repo Repository to your local computer. You also need to Change your currenct working directory to the
YOLO_Behaviour_Repo/folder, since all the code will be ran relative to there.To change directory, you just need to use
cd Path/To/YOLO_Behaviour_Repo/in your terminal.You need to clone/ download the SORT repository, and put the folder inside the
Repositories/folder.If you would like to work alongside the examples, also consider downloading the Example Data and putting it under
Data/folder.
Installation
Before starting, I recommend downloading Anaconda to create a virtual environment for the project. After downloading anaconda, you will need launch anaconda prompt (if you are on windows) or just your terminal (for mac and linux). This will be where you run all of the code required in the rest of the demo.
There are two ways of installing everything, first is to do it using the requirements file. Copy paste and run each line in your terminal:
conda create -n YOLO python=3.8
conda activate YOLO

pip install -r requirements.txt
If the above doesn’t work, you can install the packages one by one:
conda create -n YOLO python=3.8
conda activate YOLO

pip install ultralytics==8.0.143
pip install scikit-image==0.21.0
pip install filterpy==1.4.5
pip install scikit-learn==1.3.2
pip install natsort==8.4.0
Here, we made a virtual environment called “YOLO” and installed the required packages. From now on, everytime you run the code, you need to activate the virtual environment by running conda activate YOLO.
After installing, you are now ready to proceed!
Summary of scripts in the repository
We provide a number of scripts to run the whole YOLO-Behaviour pipeline, everything is under the code/ directory, and numbered.
1_LabelStudio2YOLO.py: This script converts the LabelStudio annotations to YOLO format for training, refer to Image annotation for details on doing annotations
2_TrainYOLO.py: This script trains the YOLO model using the annotations from the previous step
3_VisualizeResults.py: This script is a quick script to visualize results for a given video and trained YOLO model
4_RunInference.py: This script runs the YOLO model on a given video and saves the results, either as a csv or as a pickle
5_SampleValidation.py: This script is a sample validation script for Siberian Jay eating detection, note that this script will need to be customized depending on the type of annotations you have!
6_SampleGridSearch.py: This script is a sample script for the grid search algorithm, to find the best hyperparameters for the YOLO model
7_HumanInLoopSample.py: This script provides an example to implement human in the loop, to first extract events using YOLO then manually validate.
Each script can be ran by running python Code/ScriptName.py in your terminal. The scripts can take in arguments from the command line, or you can modify the script to change the arguments. The sample scripts are also provided to run 1 video at a time, so I highly encourage you to adapt the scripts to go through multiple videos!
If you would like to run scripts using terminal arguments, you can use -h to see the arguments available:
python Code/1_LabelStudio2YOLO.py -h
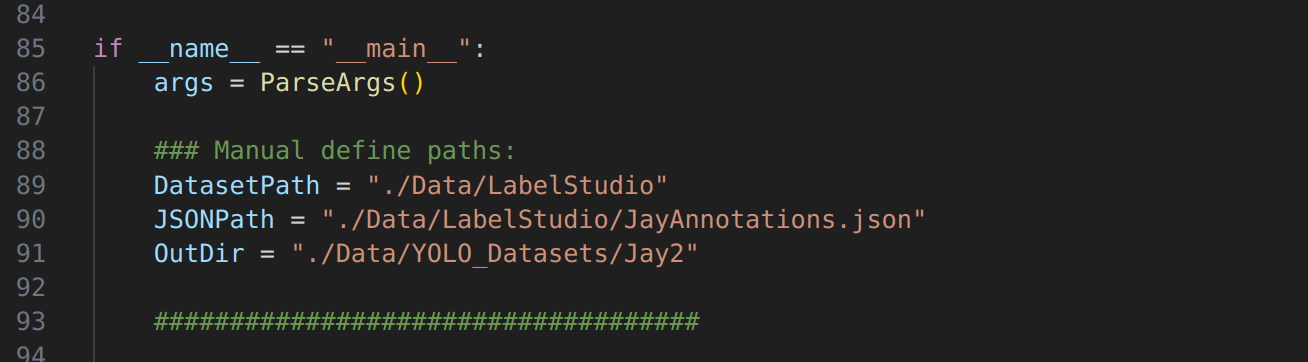
Alternatively, you can modify the script to change your own arguments/ paths. Here is an example from the 1_LabelStudio2YOLO.py script: